September 20th, 2022
Do you initially gravitate toward images when shopping on Amazon or other ecommerce websites? Turns out, you’re not alone!
If you take the time to look around, you’ll surely find that the most successful Amazon sellers are putting these statistics to work. Creating high-quality visual content is no longer an option; it’s a crucial part of standing out in a sea of competition.
That’s why, as Amazon consultants, we put a great deal of emphasis on making sure your product images are cutting edge. To compete, draw in new customers, and develop a reliable reputation, images need to be eye-catching while also meeting Amazon’s strict requirements. Pictures serve as a highly effective overview of product features and benefits while adding credibility to your brand.
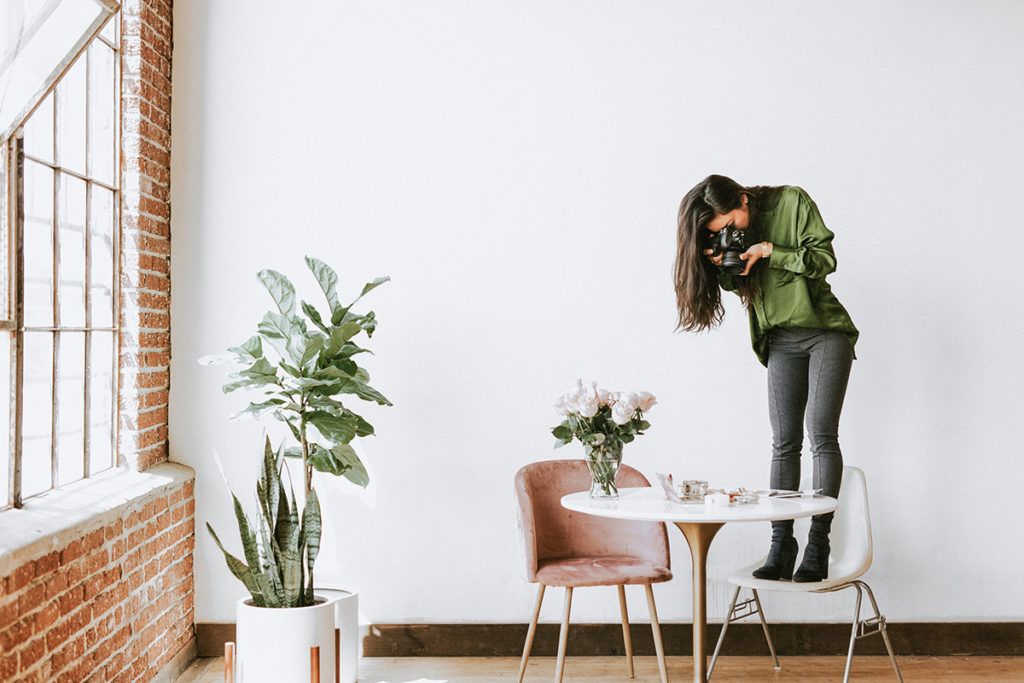
While having a professional take your product images is the best option, we understand that hiring a professional photographer isn’t always in the budget. We’ve broken down the most important steps to help you create better Amazon images and have outlined Amazon’s current requirements to ensure that your images are posted without any issues.
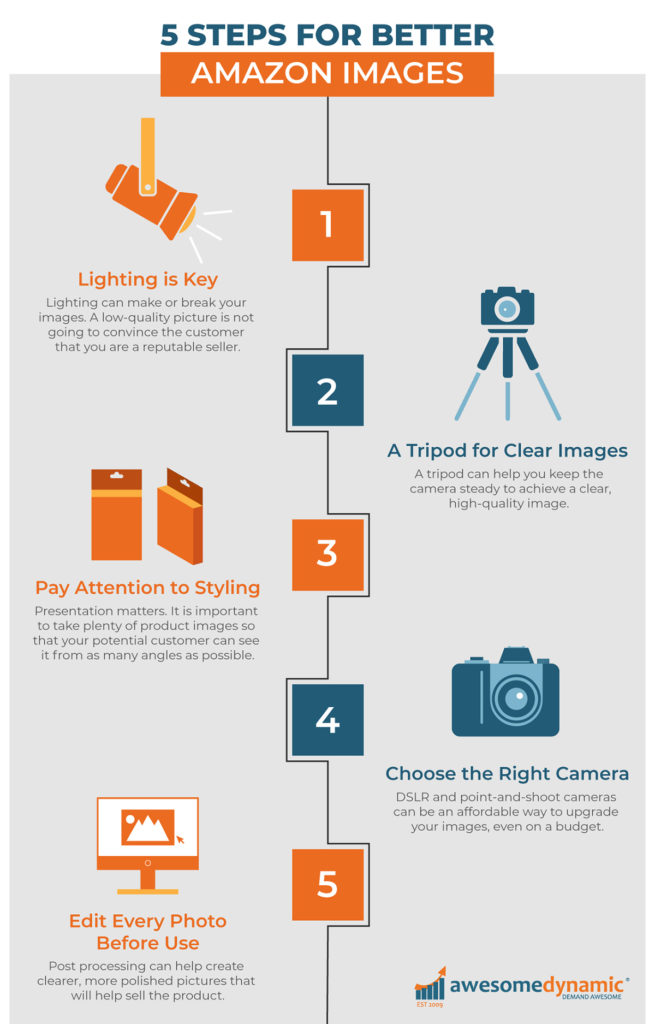
5 Steps for Better Amazon Images
1. Lighting is Key
Lighting can make or break your images. Have you ever noticed how some pictures have weird shadows, are too dark (or light), or just look mediocre at best? Most likely, it’s due to the lighting.
A low-quality picture is not going to convince the customer that you are a reputable seller, and it’s definitely not going to effectively showcase your product.
Pay close attention to the lighting when taking any photo. Shadows can hide parts of the product, leaving customers to wonder about what they can’t see. Since many customers are skimming the images first, it’s best practice to keep them clear, informative, and full of the most valuable information.
If you have a smaller product, you could purchase a photo studio kit from Amazon or another retailer. These kits include a small box and a light, yielding cleaner pictures with fewer shadows and reflections. Some even come with different backgrounds, but remember, your main image on Amazon needs to be a simple shot of the product on a plain, white background. It also never hurts to study the competition to see what works and what doesn’t.
Let’s say you have a larger product to photograph. In this case, it’s best to use natural daylight for the clearest and best-lit images possible. Set up your white background near a window using white foam core or tag board on the floor and behind the product. Use indirect sunlight to prevent shadows or a blow-out effect from too much sunlight. Take a few practice shots and double-check your work for clarity. If your picture is shadowy, gradually move your white background and product to a new position, and then snap a few more pictures until you find the perfect balance or effect.
If you have the budget, you may want to invest in a diffused lighting system. This will give you ample light, but it will be soft, not harsh, and can help to remove any shadows. These kits can be found online and run on average anywhere from $80-$200.
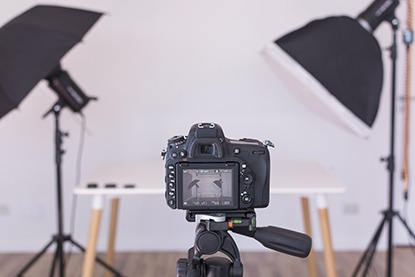
2. A Tripod for Clear Images

It doesn’t take much movement to cause a photo to become blurry. A tripod can help you keep the camera steady to achieve a clear, high-quality image.
If you are using a camera that allows you to adjust the f/stop (focal length of the lens), then a tripod is a must. In order to get a sharply focused picture, you need to have the camera set at a large f/stop. This will let less light in, but it will also cause the shutter speed to be slower (this means that it takes longer for the picture to snap).
In this situation it’s more likely for you to be unsteady, causing the image to come out blurry. To further reduce the chance of blurring in the photo, take the photo with a remote control that is designed to work with your camera.
The tripod can also be set up at different angles to capture the many features of your product. Tripods can be found for around $20-$40 and are an easy way to improve the quality of the photos taken. Tripods can be used for digital cameras and also smartphones, which makes them a great investment for any Amazon seller.
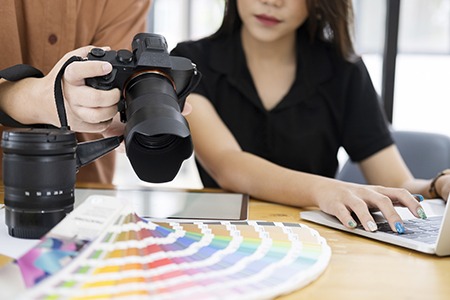
3. Pay Attention to Styling
When it comes to your product, presentation matters. It is important to take plenty of product images so that your potential customer can see it from as many angles as possible. This helps them get a much better visual of the product, and can help influence their decision to purchase your product instead of a competitor's product!
For Amazon, you will need the first image to be a simple product shot with a white background. You can fill the remaining slots with images that can show the product in actual use, also referred to as lifestyle photos.
Always review the competition to get ideas and see what stands out. Think of your photos as an alternative to your bullets or description. When executed properly, your images should address customer concerns and serve as a valuable source of information that outlines the most important features of your product.
Shoppers tend to relate more to images with people in them or showing how the product works in real life. Lifestyle photos not only help potential customers imagine what it would be like to use your product, but it also helps them understand its value. When taking lifestyle photos, always keep the background in mind. You want your background to be simple and not distracting.
Don’t forget that you can also use images with text, such as infographics, nutrition labels, instructions, or other complementary products to further demonstrate the products use and features. Keep any included text brief and to the point to keep shoppers interested and informed.
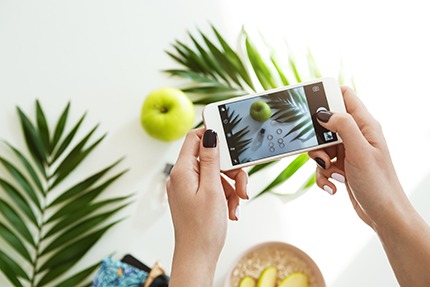
4. Choosing the Right Camera
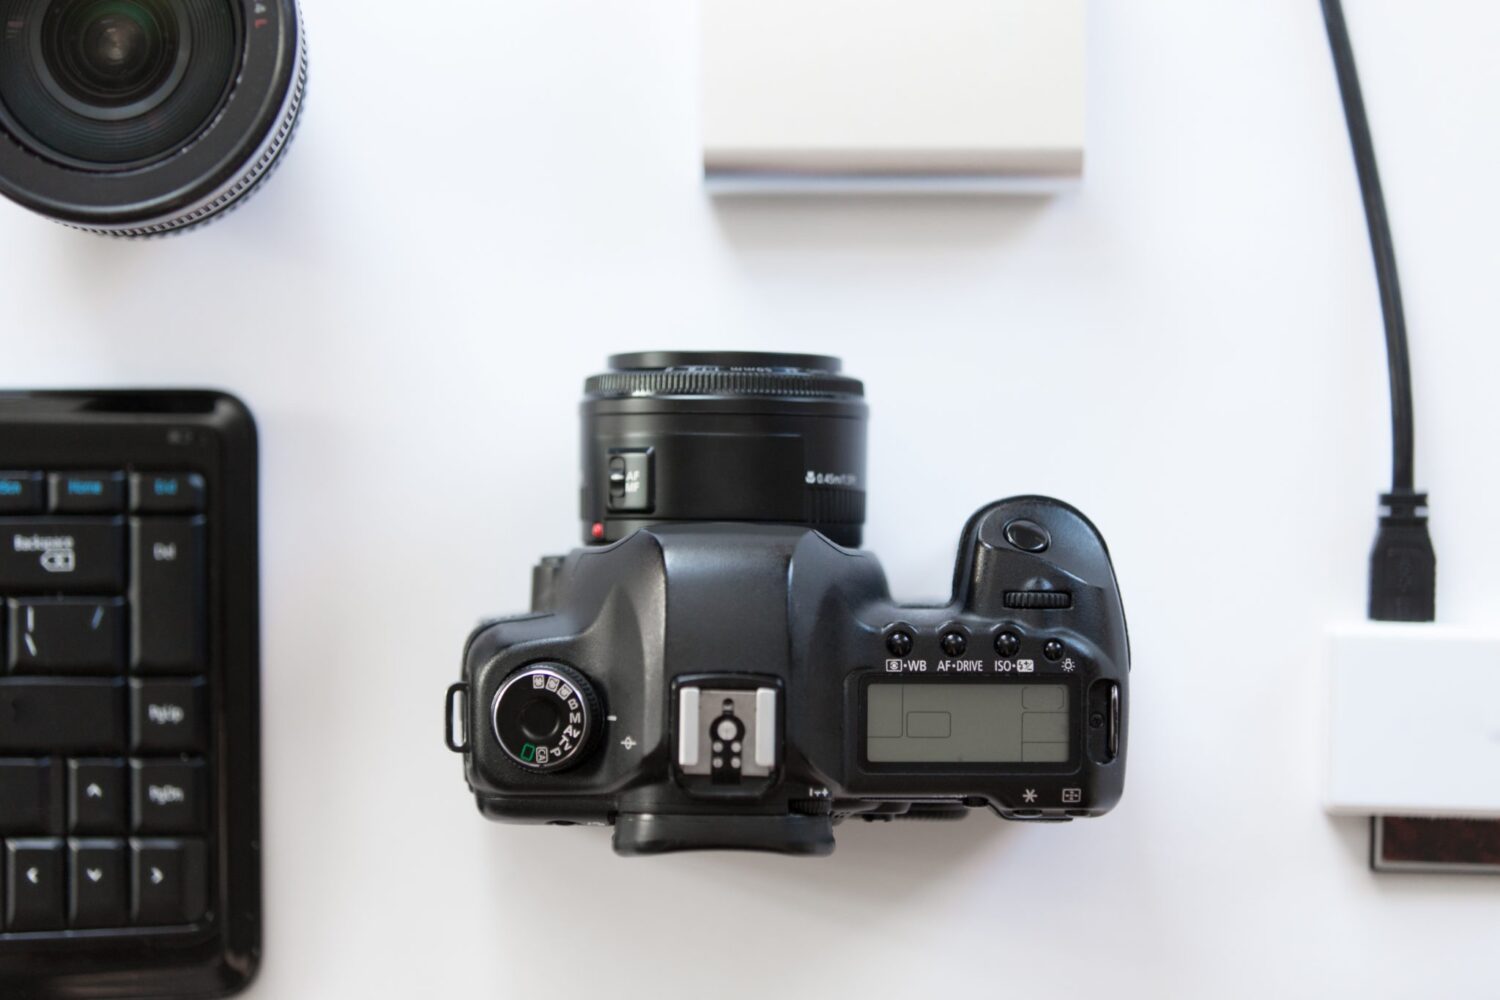
DSLR and point-and-shoot cameras can be an affordable way to upgrade your images, even on a budget. Also, smartphone technology has improved greatly and some smartphones can produce better pictures than many professional cameras!
If you choose to purchase a professional camera, keep in mind that you will need to familiarize yourself with the basic features and settings in order to take high-quality photos. This 2022 buyer’s guide can help guide you through all of the different camera options to discover which is best for your needs and skill level.
5. Edit Every Photo Before Use
All photos, no matter what type of camera they’ve been taken on, need to be edited before they are published. Editing provides an opportunity to crop the product image to eliminate excess background space, adjust the lighting and exposure, and remove any unwanted details. It also gives you the chance to perfect all the imperfections.
Post processing can help create clearer, more polished pictures that will help sell the product. If you are just starting out, getting the background and lighting just right takes some trial and error. Fret not, there are many photo editing software options and apps available to help achieve that highly sought-after clean, crisp image. Keep in mind that the editing doesn’t need to be extensive, but some editing should be done for every image in order to obtain a better final image and cohesive collection for your listing.
Free Photo Editing Apps
Canva - This app has really become popular with its user-friendly functionality and many free online tools. They have a large number of templates to use for marketing purposes, social media, and more.
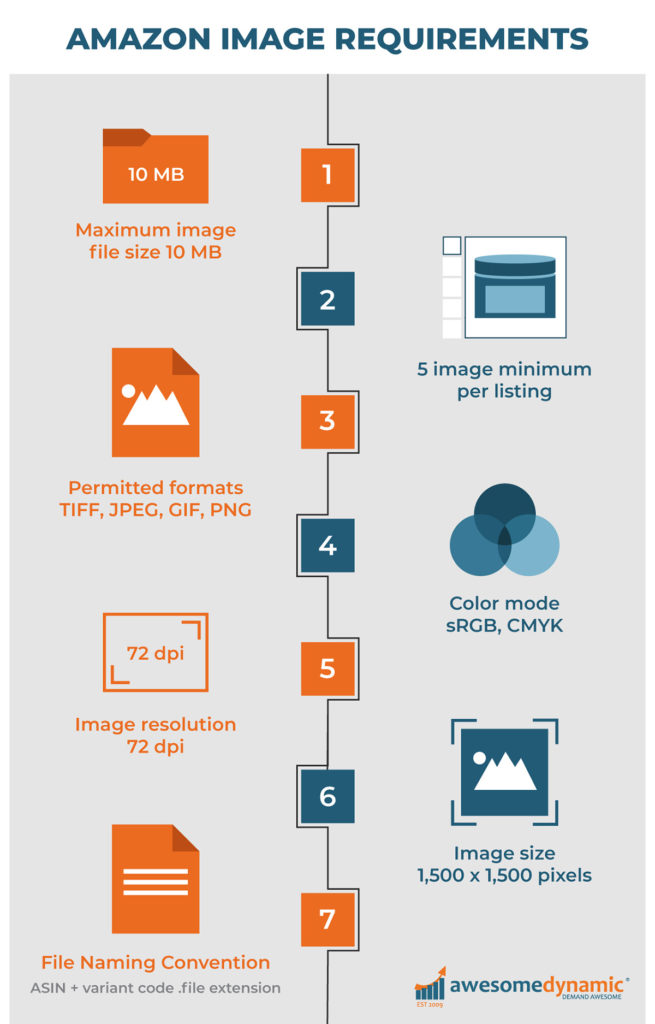
Pixlr - This Windows photo editor has a number of tools and features similar to the most popular tools in paid software. You can easily edit your photos color and light settings, remove the background, and more.Amazon's Image Requirements
- Maximum image file size 10 MB
- Number of images 5 image minimum per listing
- Permitted formats TIFF, JPEG, GIF, PNG
- Color mode sRGB, CMYK
- Image resolution 72 dpi
- Image size* 1,000 x 1,000 pixels
- File names The accepted naming convention is: ASIN + variant code + file extension
All photos submitted will be shown at 500 x 500 pixels regardless of the dimension you provided. We suggest making your images larger (1,000 x 1,000 pixels) so that they are high resolution but maintain the 1:1 ratio (square). You can read more about Amazon’s Seller Central image requirements here.
Amazon's Image Requirements
Before you even begin creating or submitting photos, it’s important to review the basic steps for better Amazon images. Knowledge is power, so knowing the facts will help you get it right the first time around and prevent any delays. Amazon image standards pertain to:
First Image Slot
- Image must be cover art or an actual photograph of the product with no drawings or illustrations
- Image must be in focus and professionally lit with realistic color
- Only the product should be included in this image and it must fill 85% or more of the image frame
- Should not contain any additional text, graphics, or inset images
- No pornographic or offensive material allowed
Additional Images
- Must pertain to the product being sold
- Images must be in focus and professionally lit with realistic color
- Other products or objects are allowed to help demonstrate the use or scale of the product (for example, a coin may be used to show the scale and compare the size of your product)
- The product and props should fill 85% or more of the image frame
- Cropped and close-up images are allowed
- Backgrounds and environments are allowed
- Text and demonstrative graphics, such as infographics, are allowed
- No pornographic or offensive material allowed
Adding images in bulk to your existing listing
To make it easier for sellers to upload images to their product listings, Amazon recently launched a new bulk image upload tool. Previously, you could only upload images and view the upload status for one product at a time. Now you can upload up to 5GB of product images at once with the bulk image upload tool and view the status of your uploads in the image upload status report in Seller Central. To use this feature:
- From Seller Central, click Inventory and select Upload images.
- Click the Bulk image upload tab and review the image requirements.
- Under Upload Images, drag or click to add an image or zip file.
- Click Open and select the image file from your computer.
- Click Submit images.
If you could use some help creating, selecting, or editing images, our Amazon experts are here to help! Our creative team can provide you with professional images and content that is Amazon-ready and sure to get you noticed. Contact our full-service team at Awesome Dynamic for a free consultation and we'll walk you through the process.